The possible reason is that the USB memory stick is NTFS formatted, which allows the Mac to read data but not write it without third-party software.

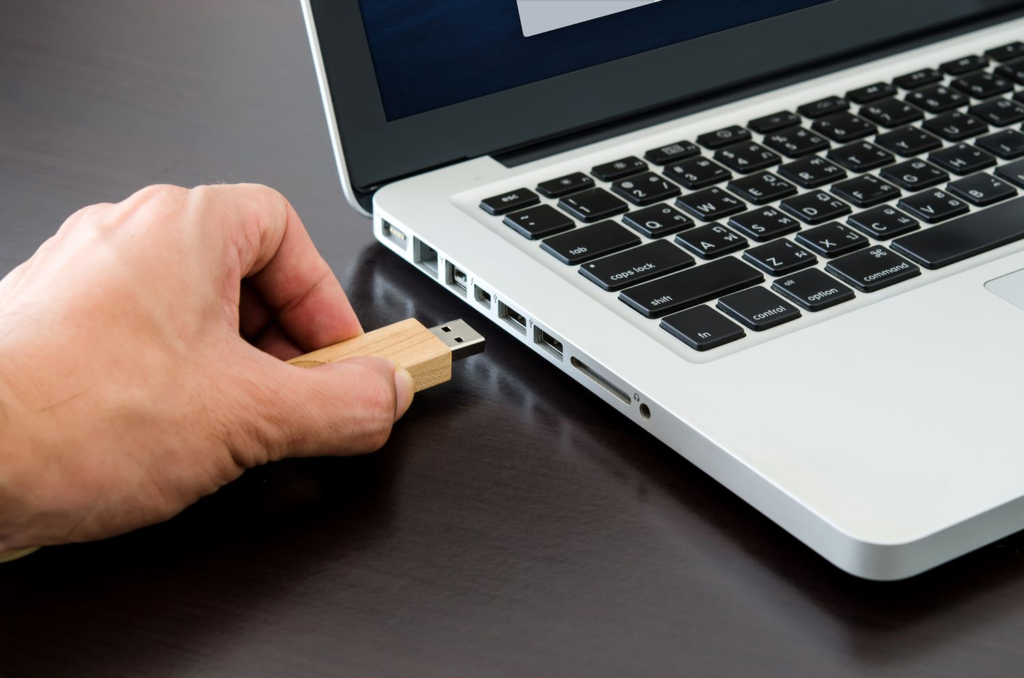
A USB drive that doesn’t function properly on a Mac is often caused by a file system mismatch, not a faulty drive. Common problems include read-only access, write errors, or the drive not appearing in the Finder. Drives formatted as NTFS on Windows can be identified by macOS but cannot be written to without extra software.
The solution is to reformat the entire drive into a compatible file system, but this must be done properly to avoid data loss, as even a single change in the directory, location, or format can lead to misplaced files.
This guide explains how to choose between different file systems, recover important files, and how to format a USB on Mac using various methods.
Key Takeaways
- A USB drive not functioning on Mac is usually caused by a file system mismatch, not a damaged drive.
- Choose the right format for Mac and Windows sharing, Windows-only use, and Mac-only drives.
- Formatting erases all data, so always back up important files or recover them before formatting if the drive is inaccessible.
- Safely reformat your USB drive using the correct method for your situation.
- To avoid future issues, eject drives properly, keep backups, and label drives by format.
A file system is a table of contents that tells a computer where files are stored on a drive, their size, and how to retrieve them. Different systems like Windows, macOS, Linux, cameras, and game consoles use different file systems, so they may not understand each other.
Formatting a drive removes the existing file structure and creates a new one in the selected format. This process is quick, often taking only a few seconds for a USB drive, making old data inaccessible.
This is because the computer loses the map used to find it, even though the raw data may still be present temporarily on the disk.
Here are the frequent situations that call for reformatting a USB drive:
Not all file systems behave the same way once your files are on them, especially with individual file size limits and cross-platform support. Here’s how the main options, like exFAT vs. NTFS vs. FAT32 Mac, etc., compare:
The most compatible format, readable and writable by Mac, Windows, Linux, consoles, and TVs. It has limits: 4GB maximum file size and 2TB volume size, making it unsuitable for large videos or modern drives. It’s best for small drives (under 32GB) used across many devices.
Designed to overcome FAT32 limits while maintaining cross-platform support. It also supports large files and volumes, and both Mac and Windows can read/write on it without requiring additional software. However, it lacks journaling, so improper removal may increase the risk of corruption. It’s best for USB drives and external SSDs shared between Mac and Windows.
Windows’ modern file system with journaling, permissions, and support for large files and drives. Macs can read NTFS but cannot write to it without third-party tools. It’s best for Windows-only drives or setups where Mac access is read-only.
Apple’s file systems, optimized for macOS. APFS is the current standard for SSD Macs, offering better performance, snapshots, and encryption. HFS+ is older and used for some backups and on older Macs. It’s best for Mac-only drives, such as Time Machine backups and boot drives.
Formatting removes everything on the drive, as it does not hide or archive files. Clicking “Erase” in Disk Utility leads to the rewriting of the file system index, thus making documents inaccessible without specialized recovery tools.
This cannot be undone with “Cmd+Z.” Thus, before you format a USB drive on Mac, confirm that you have backed up any important data. If your files are already saved elsewhere, you can continue. Otherwise, back them up first.
In case you can’t access the drive and don’t have a backup, this is exactly the situation where you’ll need USB recovery software. 4DDiG Mac Data Recovery can pull files off a drive regardless of whether it’s unreadable, corrupted, formatted, or inaccessible. Here are the benefits 4DDiG provides:
Main Benefits of 4DDiG:
Step-by-Step Guide to Use 4DDiG:
Here’s how to use 4DDiG to retrieve files from an inaccessible USB drive:
Step 1: Install 4DDiG and pick a location
Install and execute 4DDiG on your Mac. Then, connect the USB drive you’re about to format, and select it from the list of available locations in the app.
Step 2: Scan and preview
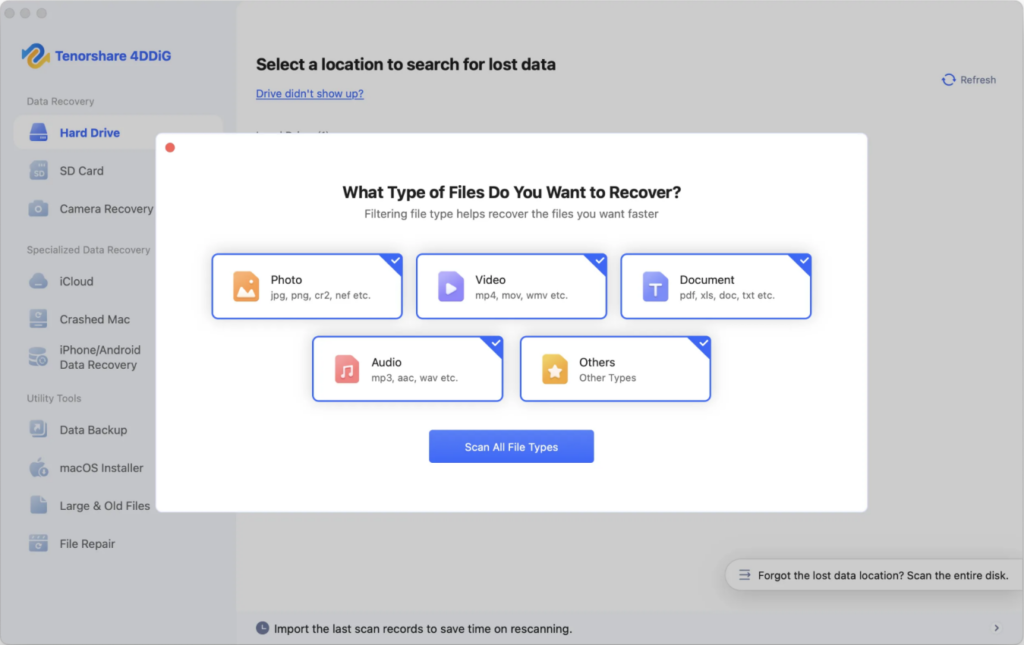
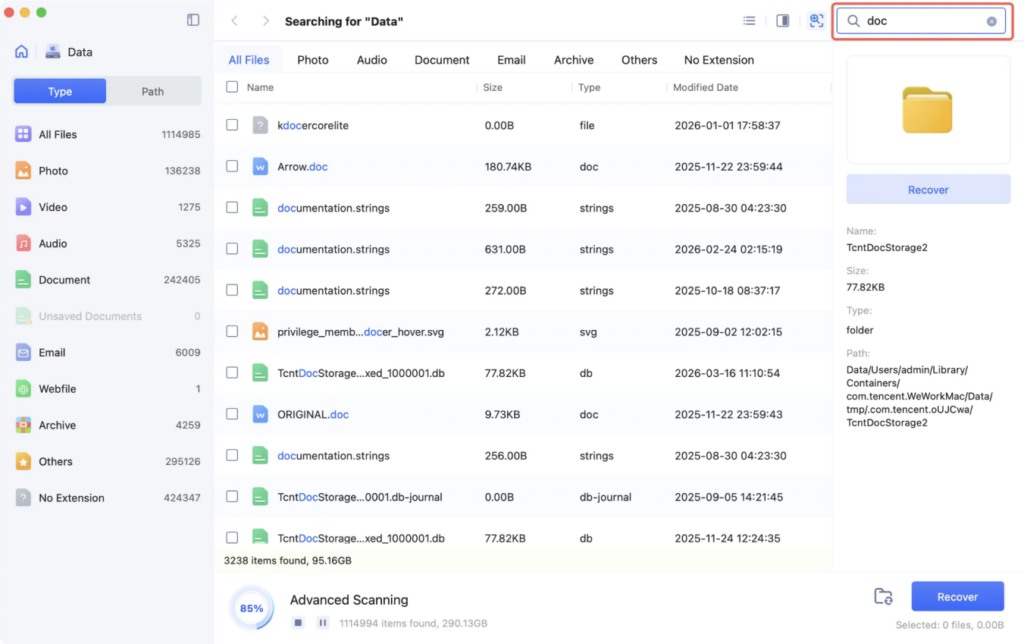
Choose the file types to scan. Start the scan and let the software search the drive for recoverable files. Preview the results. You can adjust filter tags and input keywords in the search field to find exact files.
Step 3: Recover files
Choose the files you want to restore, and click “Recover.” Save them to a different location, such as your device’s internal drive or another external disk. Never restore to the same USB drive you’re about to erase.
Once your files are safely somewhere else, you’re clear to move on to formatting. Disk Utility is the built-in tool for this and covers the vast majority of formatting needs for Macs. Here’s how to use it to format a USB drive:
Step 1: Connect the USB drive to your Mac. Open “Applications.” Choose “Utilities.” Tap open “Disk Utility.”
Step 2: Select the drive itself in the sidebar (top-level entry with storage capacity), not the indented volume. Selecting the parent drive allows you to change the partition scheme.
Step 3: Click “Erase” in the toolbar. Next, adjust the options:
Step 4: Click “Erase.” Formatting usually takes a few seconds to a couple of minutes depending on drive size. Hit “Done” when finished.
In case Disk Utility cannot recognize the drive, shows a formatting problem, or you need more control over the entire process, use the “diskutil” command. It formats drives through Terminal and is useful as a backup for troubleshooting or for scripting repeated tasks across multiple drives.
Here’s how to use Terminal to format a USB drive:
Step 1: Step 1: Connect the USB drive to your Mac. Open “Applications.” Choose “Utilities.” Open “Terminal.”
Step 2: Run the following commands one after the other:
Step 3: Wait for the process to finish, then run “diskutil list” again to verify the format.
The USB drive is now ready to use with the FAT32 file system on Mac.
Note
Terminal functions with disk identifiers, not friendly drive names, so selecting the wrong disk can erase the wrong drive. This method is best for users who are comfortable verifying disk identifiers before running erase commands.
A few habits can go a long way to prevent reformatting your USB drive again. Here’s what you can do:
A USB drive that fails on a Mac is usually caused by a file system mismatch. So, select the right format and always create a backup before you proceed to format your USB drive on Mac, because formatting is permanent with no built-in undo.
If you don’t have a backup and the USB drive is inaccessible, use a tool like 4DDiG Mac Data Recovery to scan the drive safely before erasing. It supports numerous data loss scenarios, selective recovery, and preview before restoration.
The possible reason is that the USB memory stick is NTFS formatted, which allows the Mac to read data but not write it without third-party software.
Merely formatting a disk implies destruction of the file indexing system and therefore it cannot be accessed further by any operating system commands.
In this case, exFAT can be treated as the best solution as it is compatible with both operating systems while being free of any restrictions on the file size, unlike FAT32.