JPG, PNG, and most common image formats work on browser-based converters. Screenshots convert most accurately because text is sharp with no camera distortion.
Most people do not realise that an image can hold so much data. Printed table. Dashboard screenshot. A scanned invoice received from a supplier. A photo of a whiteboard filled with numbers from a meeting. The data exists, and it’s complete. But it is not usable until it is out of the image format.
Getting that data into Excel is easier than most people think. In this guide, we’ll go over what conversion actually does, when it works well, when it struggles and how to get accurate results every time.
Key Takeaways
- OCR technology converts table structures from images to editable Excel spreadsheets.
- The conversion results are more accurate when high-quality images with good lighting and clear formatting are used.
- Screenshots and high-res scans are usually more accurate than angled photos.
- Always double-check conversions, numbers,dates, totals, row counts, etc. for errors.
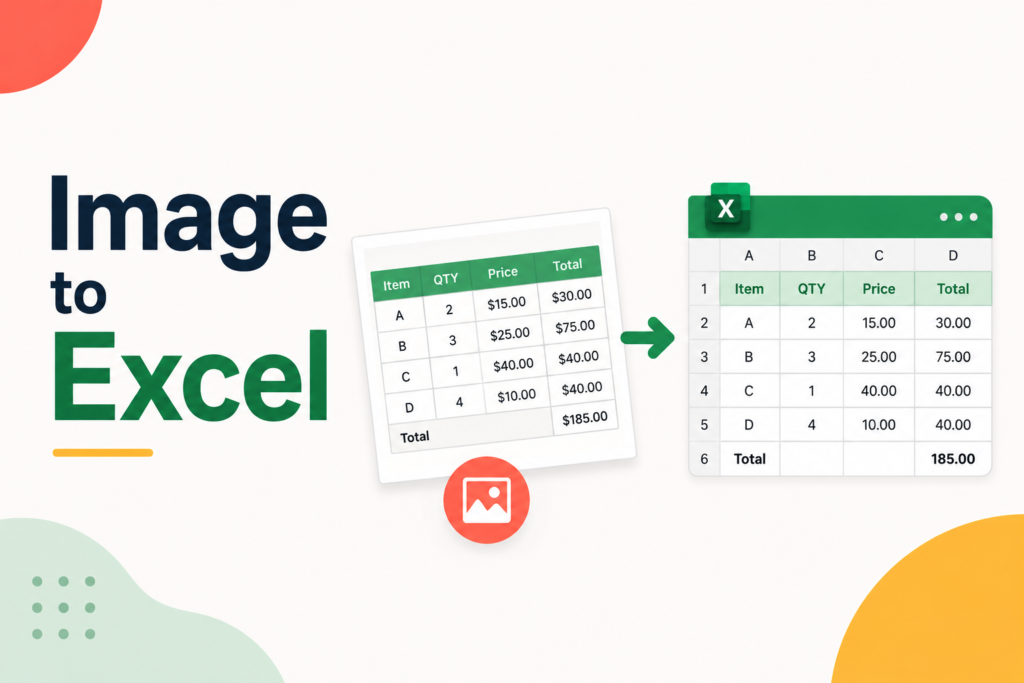
Image-to-Excel conversion depends on OCR technology. OCR stands for Optical Character Recognition. It reads the image and extracts data. directly into editable spreadsheet cells.
Basic OCR detects characters and prints them as text strings. Modern image to excel converters go further. They detect the table structure, including rows, columns, headers, and cell relationships.
A tool that only extracts text provides you a wall of characters you still have to organize manually. A tool that detects structure gives you a working spreadsheet.
Image to Excel conversion works best on screen shots, flatbed scans at 300 DPI or higher, well-lit phone photos taken directly overhead, and printed documents with visible column borders.
Here is what to expect from each:
These are harder:
Converting Four Steps to Get an Image Into Excel: prepare the image, upload it to a converter, let the tool process it, and then download and review it.
This step has a greater effect on the result than any other. A poor image produces poor output regardless of which tool you use.
For phone photos: hold the camera right over the document. No tilt. Even lighting across the whole page. No shadows. If the image looks soft or low contrast, boost brightness and contrast before uploading.
For screenshots, use them full resolution. Crop to the table area only. Remove everything outside the data you need.
For scanned documents: use 300 DPI minimum. Higher is better for small text.
Open the convert image to excel tool in your browser. Nothing to sign up for. Nothing to download. Click to browse or drag the image or the file in. Most tools accept JPG, PNG, and other common formats.
The converter scans the image, detects the table structure, and extracts the data. Most standard documents are done well under two minutes. Complex layouts take slightly longer.
Download the XLSX file and open it in Excel, WPS Spreadsheets, or Google Sheets. Before anywhere in the data, take two minutes on review.
Five things check after every conversion of images in excel : numbers, dates, totals, reference numbers, and row and column count.
A short check now saves much longer correction work later.
Three most image to Excel conversions are due to mistakes failures: uploading low quality images, skipping post-conversion review, and using the wrong tool for the document type.
Uploading a low-quality image is the most common. The what the converter works with it receives. A blurry, angled, or poorly lit image leads to messy output on every tool. Fix the image before uploading, not after the conversion fails.
Skipping post-conversion review is the second. A good-looking conversion can still hide misread characters, swapped dates, or missing rows. Always verify before the data moves anywhere.
Using the wrong tool for the document type is the third. A basic OCR engine on a borderless table collapses columns each time. For standard bordered tables, most browser-based tools work well. For complex layouts with merged cells or irregular structures, a tool with advanced structure detection produces better results.
Most converters output XLSX by default. This is right for most use cases. XLSX preserves formatting, formulas, and multiple sheets.
When the destination is a database or an accounting system, CSV is the practical choice. It carries the raw data with nothing extra attached.
Put the XLSX in Google Drive and pull it up in Google Sheets. Multiple people can modify the same file without sending versions back and forth.
Image to Excel conversion is quicker and more precise than manual entry, more accessible than Excel’s built-in Data from Picture feature, and works on any device without a subscription.
Excel’s “Data from Picture” works on simple, clean tables but needs a Microsoft 365 subscription. It processes images one at a time, supports limited languages, and struggles with complex layouts. For a thorough comparison of both options, see our dedicated guide on JPG to Excel vs Data from Picture.
Browser-based converters require no subscription and no software. They handle a wider variety of document types and languages. For most users and most use cases, a capable browser-based converter is the fastest and most accessible option.
For anyone working with data locked inside pictures, conversion cuts out the most repetitive part of the job.
Clean input produces clean output. That rule applies to every document type and every tool. Match the image to the document, the instrument well, and verify before the data moves. That all combined works time.
JPG, PNG, and most common image formats work on browser-based converters. Screenshots convert most accurately because text is sharp with no camera distortion.
On clean, high-contrast images of standard documents, accuracy runs above 95 per cent. Even lighting, straight angles, and high resolution improve results more than switching tools.
Yes. Browser-based converters like WPS process images without registration or payment. Upload the file, download the XLSX result, and open it in any spreadsheet application straight away.
Any mobile device with a browser can run the converter. Upload the image from your camera roll, and the converted file downloads directly to your phone.
Check the image quality first. Blurry, angled, or low-contrast images are the most common cause. Retake or rescan with better lighting and a straight angle, then convert again.
