If you’ve ever tried using an AI tool only to abandon it after 10 minutes of confusion, you’re not alone. Many beginners dive into tools like Image to Video AI expecting instant magic—only to hit a wall of unclear instructions, vague prompts, or unrealistic expectations. The truth? These tools are powerful, but they work best when you understand how to use them simply and strategically.
In this guide, I’ll walk you through how to get real results from Image to Video AI, even if you’ve never edited a video before. No jargon. No fluff. Just a practical roadmap for turning your photos into engaging videos—fast, affordably, and without frustration.
The biggest hurdle isn’t the technology—it’s the mindset. Many users assume AI will “just know” what they want. But Image to Video AI doesn’t read minds. It interprets your input. If your prompt is vague (“make it cool”), the output will be generic. If you’re unsure what file types to upload or how long processing takes, you might give up before seeing results.
I remember my first attempt: I uploaded a product photo, typed “animate it,” and got a slow zoom that looked nothing like the dynamic ad I’d imagined. It wasn’t the tool’s fault—it was mine. Once I started describing motion more clearly (“pan left slowly while highlighting the logo”), the results improved dramatically.
The key takeaway? Image to Video AI thrives on clarity, not complexity.
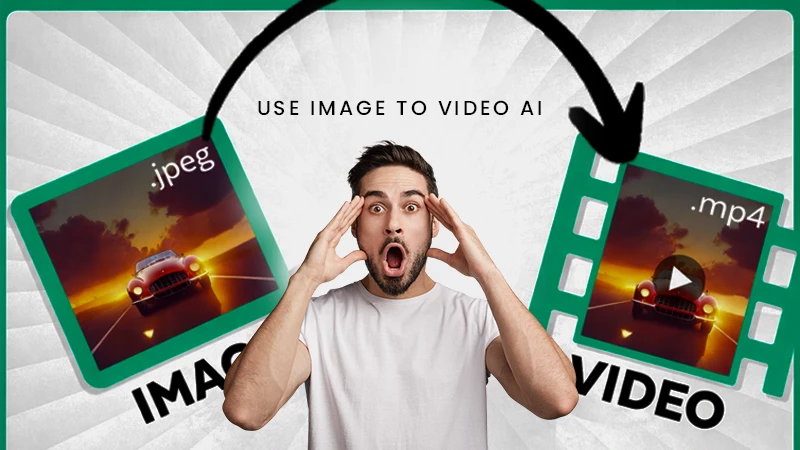
You don’t need design skills or video editing software. Here’s how to create your first video in under 10 minutes:
Stick to JPEG or PNG files—these are universally supported by Image to Video AI platforms. Avoid blurry, low-resolution, or heavily compressed photos. Clean, well-lit images with clear subjects produce the most convincing animations.
Instead of “make it move,” try:
Your description guides the AI’s animation logic. The more visual your language, the better.
Processing usually takes about 5 minutes. During this time, the Image to Video AI engine analyzes your image, interprets your prompt, and renders smooth motion effects. Don’t refresh or re-upload—that can reset the queue.
Once complete, preview your MP4 output. If it’s not quite right, tweak your prompt and reprocess. Most platforms let you iterate quickly. When satisfied, download or share directly to social media.
This workflow works whether you’re making a product teaser, a travel memory reel, or an educational diagram animation.
Even simple tools can trip you up if you’re not careful. Here are the top beginner pitfalls I’ve seen—and how to sidestep them:
One thing I learned the hard way: Image to Video AI excels at enhancing existing visuals—not creating new ones from scratch. It won’t turn a headshot into a talking avatar or add objects that weren’t in the original photo. Work with your image, not against it.
Time and budget constraints are real. Hiring a video editor for every social post isn’t sustainable. That’s where Image to Video AI shines:
For example, a small e-commerce brand can transform their entire product catalog into short promotional clips using the same prompt template. A travel blogger can breathe life into old photo albums without learning Premiere Pro. Educators can animate diagrams to explain concepts more vividly.
And yes—photo to video conversion is genuinely useful for personal projects too. Imagine turning childhood photos into a moving tribute for a family reunion. The emotional impact multiplies when still images gain gentle motion.
After dozens of tests, here’s what consistently improves output quality:
Also, remember: Image to Video AI currently generates 5-second clips. That’s actually a strength—it forces brevity, which aligns perfectly with social media attention spans.
You don’t need to master every feature on day one. Pick one use case—maybe a single Instagram post or a client demo—and run through the four steps. See how it feels. Adjust. Repeat.
The goal isn’t perfection; it’s progress. Every creator I know who stuck with Image to Video AI past their first awkward attempt now uses it weekly. Not because it’s flashy, but because it solves a real problem: turning ideas into visuals, fast.
So upload that photo. Write a clear sentence. Hit generate. In five minutes, you’ll have a video that didn’t exist before—and that’s the real power of image to video.

