I always make sure that my profile picture is the best of the best. I mean, it is the first thing anyone sees online so it needs to be great, right? But can we create a better cover pic? Are there any tools for it?
Editing is fun because you use your imagination and shape it accordingly. Popular American editor Ellen Datlow once said, “Editing cannot be taught. Developing your taste cannot be taught”.
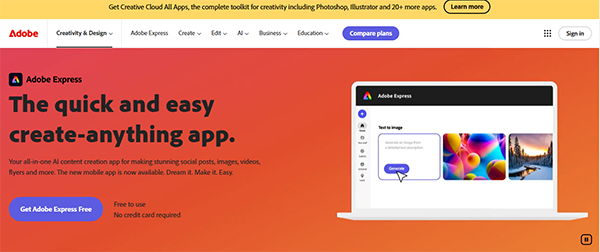
Okay enough with all this, on to the main question, is there any custom PFP maker that can give your piece a special touch? Well, there is, and in this write-up, I’m going to talk about how you can easily create a stunning profile picture with Adobe Express.
custom PFP maker
You might ask why Adobe Express should be your first preference for creating a profile picture, right? So let me tell you firstly you can edit here for free, you dont have to pay a hefty amount to access its normal features that are more than enough for editing.
You are met with thousands of different ideas that you can take inspiration from for your project, and you know what? It’s very easy to access and use, even someone with no background in editing can do a great job.
This is more than enough for me, but if you want more you can pay a small amount to access the latest AI features like AI photo erasers, and using that you can create works that would be ready to show on the big screen.

Now, this is the fun part. I’m going to break down all the steps, and believe me, it’s very easy to get started with a PFP using Adobe Express. Just read carefully:
Start by accessing Adobe Express and creating an account. Without it, you won’t be able to do any work. Once that’s done, open the Customize Size graphic tool. Adjust all the sidebars and eliminate the unnecessary to build your workspace.
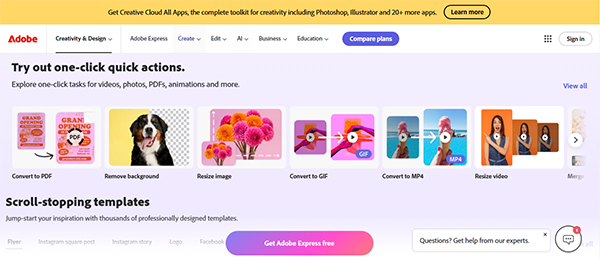
You are met with so many amazing templates that you can use for your picture and if you have something else in mind you can start from scratch. If you have previously used editing tools like CapCut, you might be aware of these templates. Those are meant to give you direction, or you can use them as a reference.
Now that you have created the setup, it’s time to upload your desired image. You can either select it or drag it from your folder.

Adobe Express is a custom PFP maker, so yes it has different editing tools that you can use on your project. For example:
Step 5: Incorporate Branding Elements
Profile Pictures don’t have to be only for public display, like the ones you post on social media. Professional display visuals require different things like logos and color adjustments. Incorporating that branding element is important in such cases.
Everything is done when you feel as if there is no need to do anything else, preview your image and according to it do some final adjustments. Try different sizes and formats and choose the one that shows how well the image was edited.
All that’s left to do is download your display image and share it.
If you think a well-edited PFP will keep it memorable, then you are wrong. Here are a few things that you have to incorporate or take into consideration to make it memorable:
FUN FACT
The first editing machine was known as Moviola, and it was invented in 1914!
So, this is it, you’ve reached the end of this article. By now, you must’ve understood how easy it is to come up with a stunning profile picture with Adobe Express. It’s pretty simple and has to follow just a few steps. However, you are also free to check out other editing apps like VSCO and find what suits you the most.
You can create an absolute masterpiece with it that will be complimented by everyone, but yes, don’t overdo it. Adobe Express can also be used for other things like creating a poster or invitations. If you can master this platform, you’ll be able to do a lot of things on your own, so what are you waiting for?
